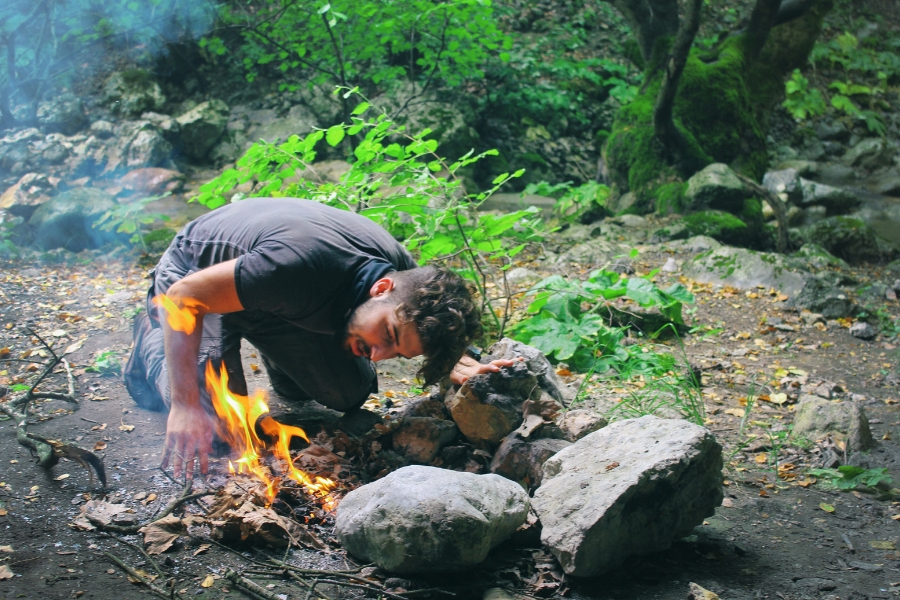
Have you ever been out in the woods camping when you go to light a fire and you realized you forgot your matches or lighter? Do you want to impress your friends with your outdoor expertise? Do you just like to be prepared in case of emergency situations?
Well, then you need to learn how to start a fire without a lighter. I’ve researched 7 useful ways to do it and described them for you below. You should try them all out and see which one you like best.
Read on for more information and a breakdown of each method.
This article only describes how to get the initial spark and flame in starting a fire. Click the link more detailed information on how to make fire for camping.

Table of Contents
1) FLINT AND STEEL
Flint is a family of stone that it harder than steel. If you strike a stone with a steel object (a knife is preferred) and sparks are created, that stone is a flint stone.
When you strike the steel against the flint, shavings of the steel are heated and flung off the knife or other objects. These hot sparks can then be directed into tinder used to start a fire.
DIRECTIONS
- Move the flint against the knife or steel in a shaving motion and angle the sparks into your tinder.
- Gently blow the tinder until a flame begins.
- Put the tinder into your fire pit and add more tinder gradually until the flame is strong.
- Use your kindling tipi to start the rest of your fire.
2) GLASS LENS
As a kid, many of us used a magnifying glass or other lens to burn or melt things. I remember using one to mark one of my favorite toys with my initials, so my brother wouldn’t mess with it.
This same technique can be used to start a fire without matches or a lighter. Make sure the lens or glass is clean enough to focus sunlight through.
DIRECTIONS
- Hold the glass up to the sun and notice where the brightest point of light appears. Don’t point it at yourself.
- Move the glass or lens until that light is pointed at your tinder. Adjust the angle and distance of the glass to get the brightest and hottest point possible.
- As the smoke and fire begins, gently blow on the tinder until a flame has started.
- Add to your fire pit setup and continue to build your fire.
3) FIRESTARTER TOOL
A firestarter tool works much the same as flint and steel. In some cases, survival knives and multi-tools such as this one by Bear Grylls comes with a fire-starting tool built into the knife.
The firestarter is harder than the steel of the knife and can be used to create the heated shavings or “sparks” to start the tinder. For complete directions, look at the flint and steel method.
4) ALUMINUM CAN
Aluminum cans such as beer or soda cans (pop cans for those us in Michigan) are another fun way to start a fire. This method uses sunlight like the lens to provide the heat.
DIRECTIONS
- Polish the can with toothpaste or chocolate until its shiny and clean.
- Angle the bottom of the can directly towards the sun.
- Hold your tinder near the can where the brightest point of light appears.
- When you start to see smoke and a flame, start blowing on the tinder gently until a flame appears.
- Add the tinder to the fire pit and continue to build your fire.
5) MIRROR
This method is a combination of the glass lens and aluminum can methods. It uses sunlight to provide the energy and heat for the fire.
The directions for this are closest to the aluminum can. It’s the same except that you don’t need to hold the tinder up close to the mirror to get it to light; you stand farther away and light it directly into the fire pit.
6) FRICTION WOOD PLOW
This is at the top of every outdoor survivalist’s knowledge for fire starting. It requires absolutely nothing man-made, and because of this, anyone can do it. It does, however, mean some physical work for you.
To do this, you’ll need a longer piece of wood that’s dry and a shorter but thick branch (also dry). You need to sharpen the end of this branch with a knife (or rock) to a blunt point.
DIRECTIONS
- Make an inch-wide divot or V-shape down the length of the long wood. This is your plow.
- Take the longer stick and run it repeatedly up and down the divot you made.
- Do this with energy for a long time.
- As the stick scrapes off bits of wood dust, the friction heats it up. Over time the dust pile collects and begins to smoke.
- When you have a good-sized pile of dust that is smoking, gently blow or wave over the dust until it takes off.
- Move your tinder near it to light it (or put your tinder at the end of the wood plow in the beginning).
This method is difficult to describe, but if you watch this video in combination with the description you should get a pretty good idea.
7) WATER BOTTLE
The water bottle method also uses sunlight like a couple of the ones above. To do this method, you need to have a clear plastic water bottle filled with water.
DIRECTIONS
- Remove the plastic label from the water bottle.
- Hold the water bottle up to the sun and move it around until you see the tell-tale small bright spot of light.
- Get the bottle and tinder close to one another and hold it steady until the tinder begins to smoke and light.
- Gently blow on the tinder until a flame takes off.
- Add tinder to your fire setup and begin the fire process.
COMMONLY ASKED QUESTIONS
What should I do if I can only find wet wood? – Dry wood that’s been off the tree for a long time is the best for starting a fire. If you can’t find any stuff that’s dry, try to split the wood you do have. The inside parts are still going to be somewhat dry.
What wood should I look for? – Look for dry stuff first. But if you want to know what types of wood burn the best here are some common ones that start easily when dry:
- Apple
- Ash
- Birch
- Cherry
- Maple
- Oak
- Pine
- Walnut
Related Reading: Tree identification
CONCLUSION
We hope you enjoyed learning about how to start a fire without a lighter with these 7 useful ways to get it done like an outdoor expert. Sure, it’s easier to just start it with a match or lighter, but sometimes it’s fun to challenge yourself.
Now get out there and enjoy the fresh air!
If you enjoyed reading this article, you may also enjoy 12 benefits of camping for families.